User Management
The User Management screen allows you to add and modify user accounts and profiles, assign profiles to existing users, configure API integrations, and see active sessions for both dashboard users and API integrations.
Users
The Users tab shows existing user accounts and their access to each Dashboard screen.
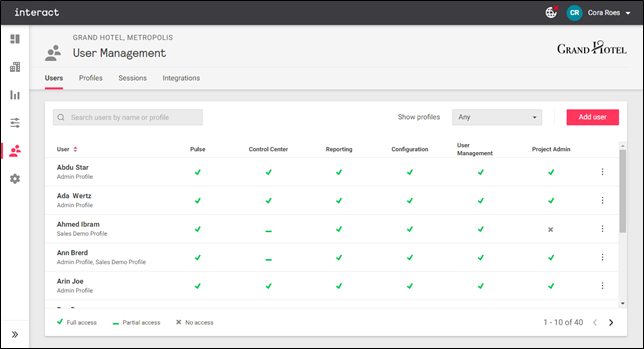
To create a new account, click Add User.
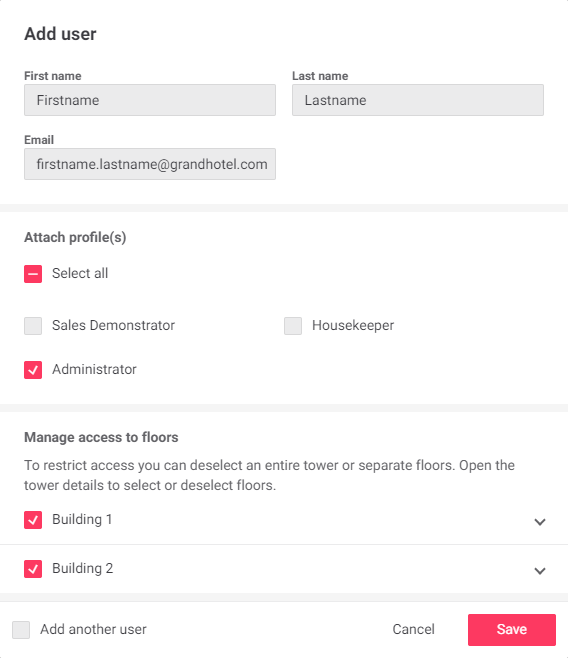
Enter the user’s details, select the required profile(s) and building/floor access, and click Save.
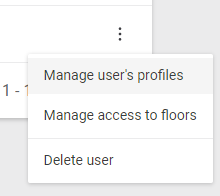
To modify or delete an existing user account, click the ⋮ symbol and select from the popup menu.
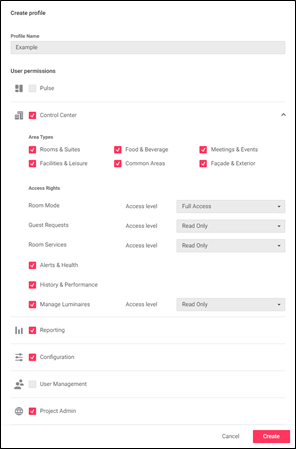
Profiles
Profiles can be granted full (read/write) or partial (read-only) access to each screen of the Dashboard.
You can create profiles for each job role, or for access to specific screens. and assign one or more profiles to each user account as needed.
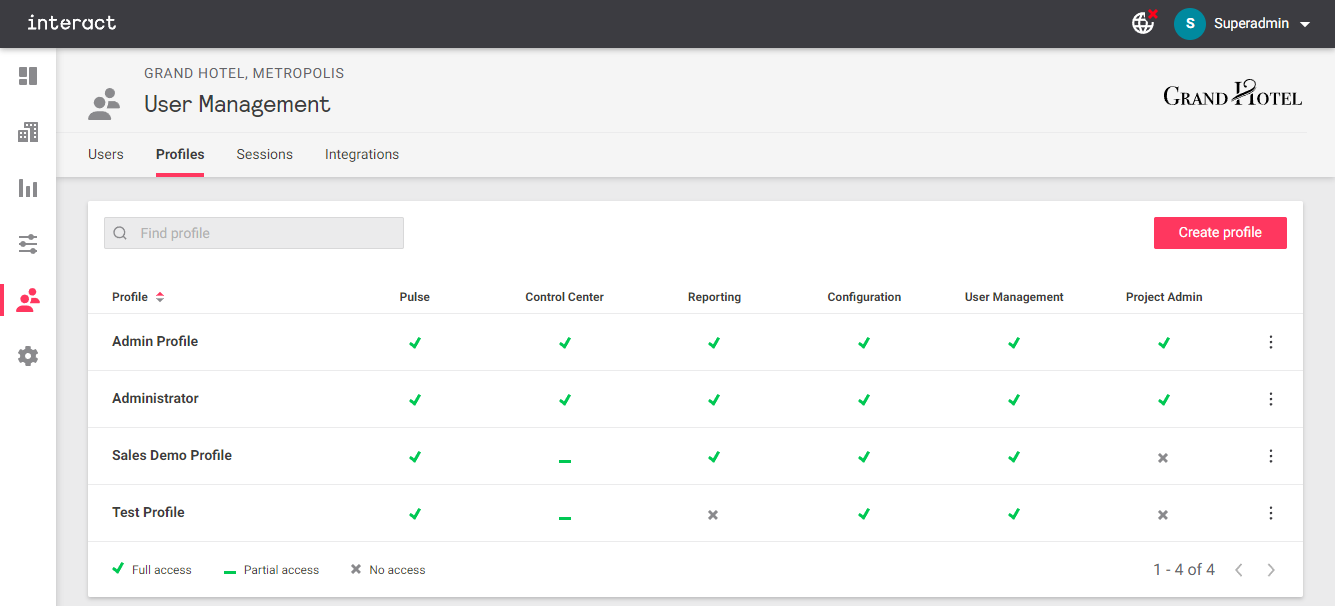
Click Create profile to configure a new profile. Select the required access levels, then click Create to save your changes.
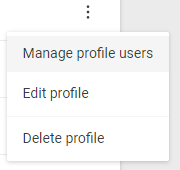
To modify or delete an existing profile, click the ⋮ symbol and select from the popup menu.
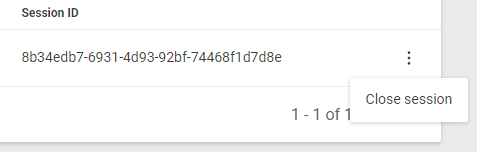
Sessions
This tab displays all currently active user sessions. Each user account can only have one active session at a time.
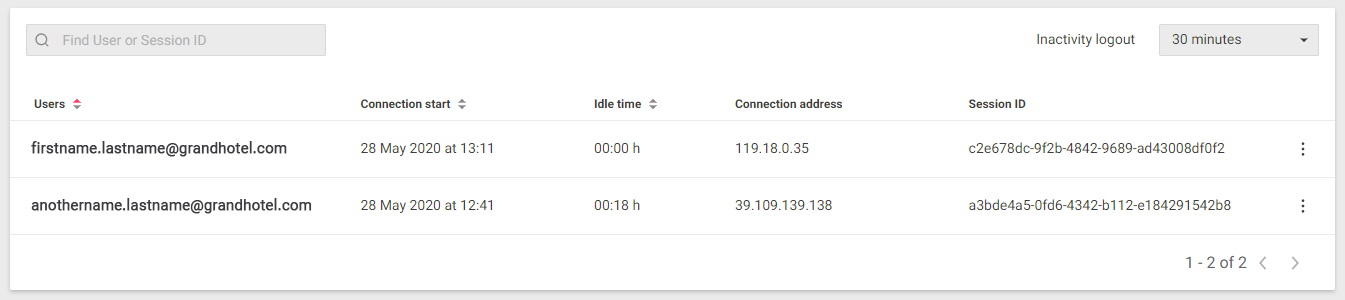
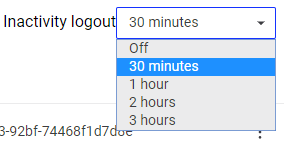
You can set an inactivity logout using the drop-down menu on the right.
To manually log a user out, click the ⋮ symbol and select Close session.
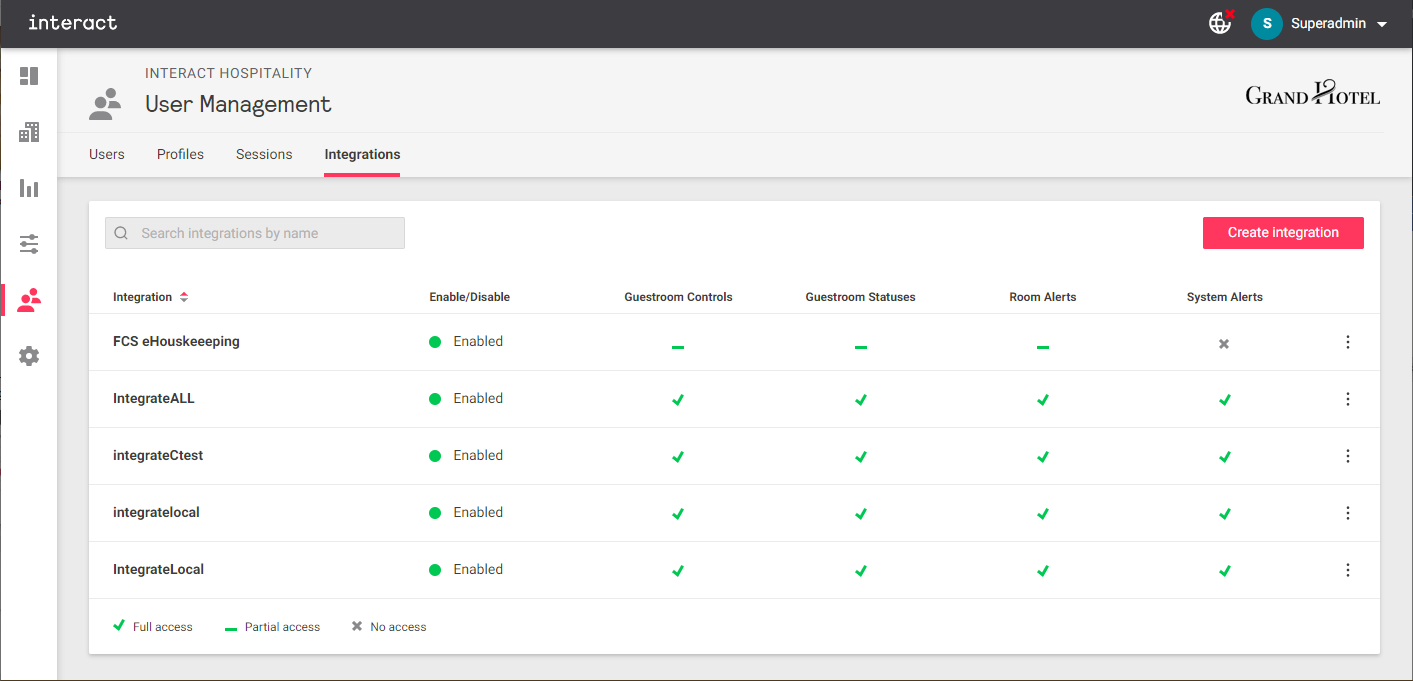
Integrations (API access)
In this tab you can create, view, edit, and disable/delete API integrations. These integrations provide third-party applications and devices with full or read-only access to selected IAH system functions, ranging from room and system status alerts to lighting and HVAC control.
Each API client uses its unique Client ID and secret to obtain a temporary authentication token. This token must be refreshed every 24 hours, ensuring that only authorized apps and clients have secure access to permitted API and WebSocket functions.
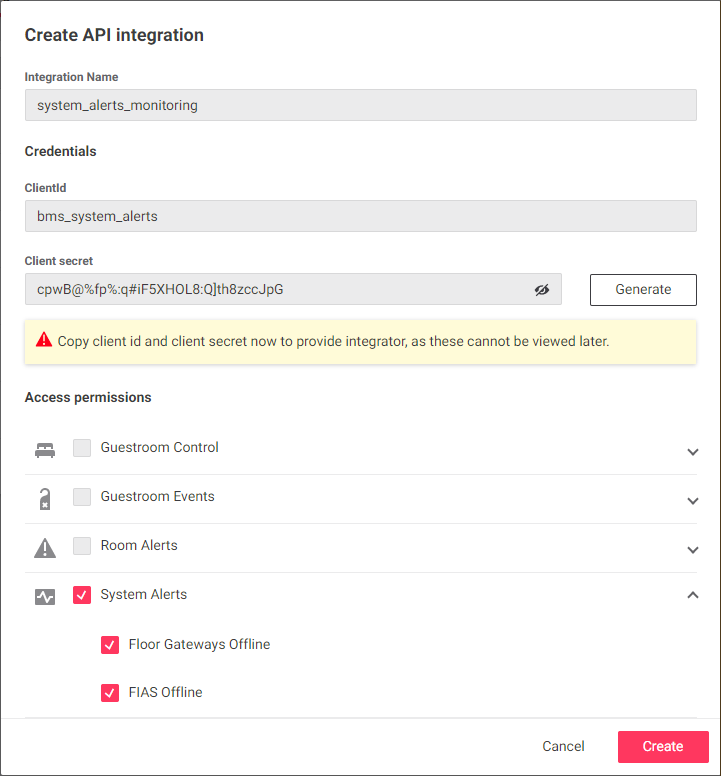
Create an Integration:
-
Click the Create Integration button in the top right corner.
-
Enter the Integration Name and a unique Client ID for the API client.
-
Generate the Client secret.
-
Copy the Client ID and Client secret before proceeding.
If you forget these after creating the integration, you will need to start again. -
Select the required access permissions.
-
Click the Create button to save your new integration.
-
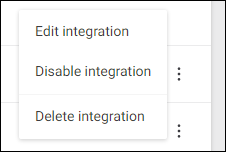
To Edit, Disable, or Delete an integration, click the ⋮ symbol and select from the popup menu.
-
Configure your API client with the copied Client ID and Client secret.
NoteOnce an integration is created, only the access permissions are editable.